In a few of our previous tutorials, we showed you how to create a multiplayer game using Phaser and Node.js. If you missed these tutorials you can find them here:
However, these tutorials only walked you through setting up a local server for development and testing. In this tutorial, we will show you how you can host your multiplayer game on Heroku. If you are not familiar with Heroku, it is a fantastic cloud platform that allows you to build, run, and operate your applications entirely in the cloud.
Heroku offers an easy to use command line interface (CLI) for uploading your applications, many different integrations, and they allow you to connect your application to GitHub, that way as you update your code in GitHub, Heroku will automatically grab those changes, rebuild your application, and redeploy it. The best part is, Heroku offers a free tier so you can try out their service.
The goal of this tutorial is to show you how to host your multiplayer Phaser game on the cloud-based service Heroku. You will learn how to:
- Install the Heroku CLI
- Use the Heroku CLI to upload your application to Heroku
- View your logs on Heroku
- Connect your Heroku application to GitHub so you can have automated deployments.
You can download all of the files associated with the source code for this tutorial here.
Did you come across any errors in this tutorial? Please let us know by completing this form and we’ll look into it!

FINAL DAYS: Unlock coding courses in Unity, Godot, Unreal, Python and more.
Table of contents
Tutorial Requirements
For this tutorial, we will be using the Heroku CLI to upload our Phaser game to Heroku. One of the requirements of using the Heroku CLI is that you need to have Git installed. If you are not familiar with Git, Git is a free and open sourced version control system, which is used to track changes to a file or a set of files over time. For the purposes of this tutorial, we will not be covering how to install Git, but you can install Git by following the instructions here: Installing Git
For this tutorial, we will be using Node.js and npm to install the required packages that are needed for this project. In order to follow along with this tutorial, you will need to have Node.js and NPM installed locally, or you will need access to an environment that already has them installed. We will also be using the Command Prompt (Windows) / Terminal (Mac) to interact with Git and the Heroku CLI.
Having a prior experience with the terminal is a plus, but it is not required for this tutorial. To install Node.js, click the link here: and choose the LTS version. You can download and use the current version with this tutorial, however, the LTS version is recommended for most users. When you install Node.js, NPM will also be installed on your computer. Once you have these tools installed, you can move on to the next part.
Also, at the time this tutorial was created, the latest LTS version of Node.js was v10.13.0. You can check your version of Node by running node -v from the terminal. It is recommended you be on this or a new version when following along.
Lastly, you will need to download the code for the multiplayer Phaser game from here.
Signing Up For Heroku
The first thing we will need to do is create a new Heroku account if you don’t already have one. If you already have an account, you can skip this section and move on to the next part. In order to sign up for a free account, you will need an email address. To sign up visit this page here: Heroku Sign Up
After you fill out the form, you should get a message stating that you will need to confirm your account and that you should receive an email shortly. It may take a few minutes to receive this email, but in my experience it was relatively quick.
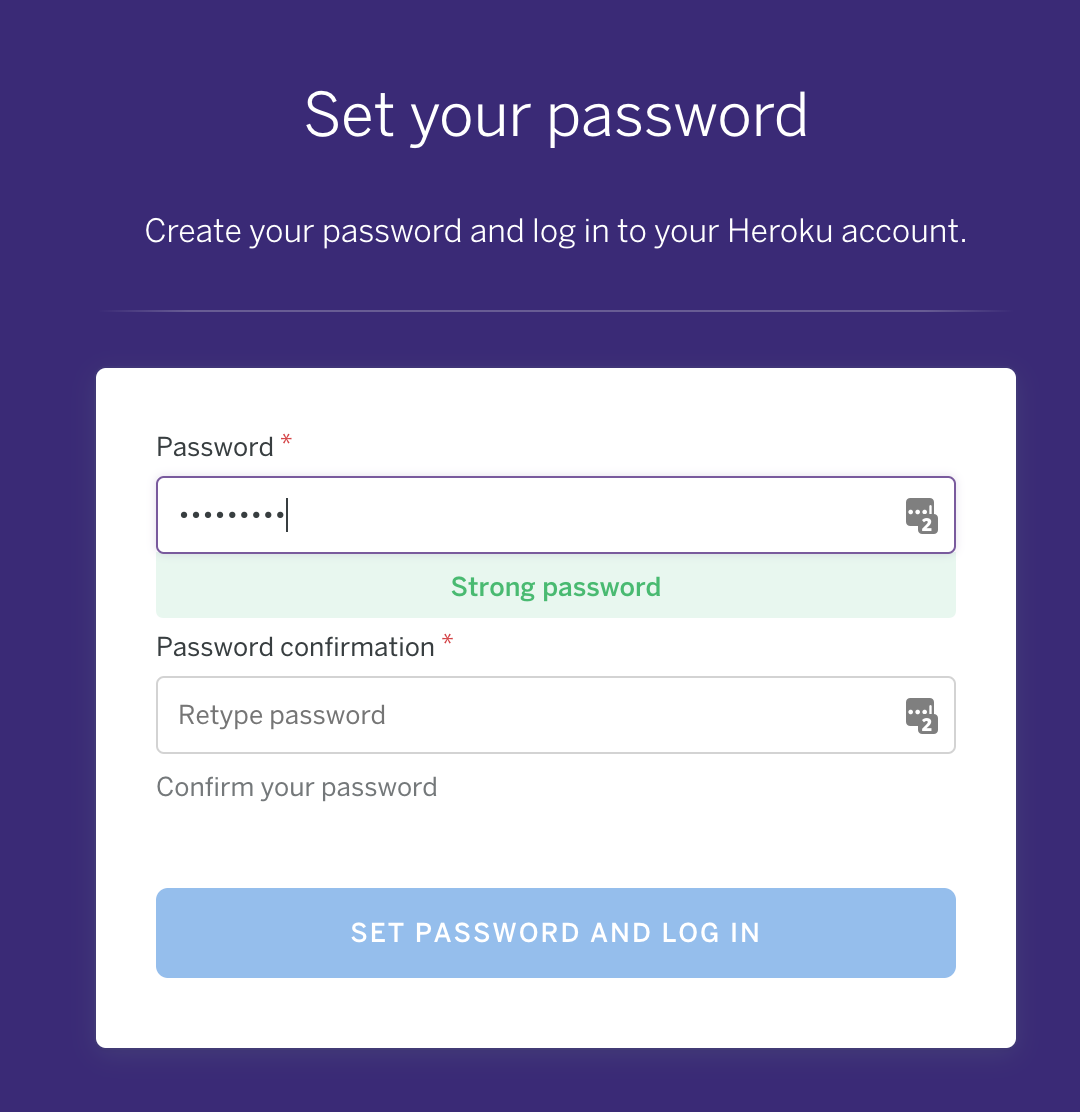
Once you have the email, click on the link to activate your account, and a new tab should open prompting you to create a password for your account.
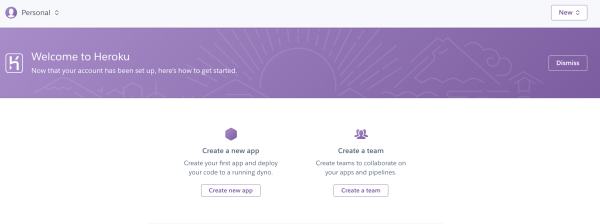
Once you fill out the password form, and you click the Set Password and Log In button, you should get a welcome message that says your account is all set up. On this page, click on the button to proceed to your account, and you should see your new Heroku dashboard.
Installing Heroku CLI
Now that you have created your account, the next thing we need to do is install the Heroku CLI. The Heroku CLI is a vital tool that is used to manage and scale our application, provision add-ons, view the application logs, and it can be used to run our application locally. To install the CLI, you will need to visit the installation page here and follow the instructions for your operating system.
After you have installed the Heroku CLI, if you open your terminal and run, heroku --version you should get a message that shows your currently installed version.
Updating our project to use Git
Now that you have installed the Heroku CLI, we are going to start updating our project so that it can be deployed to Heroku. The first thing we need to do is create a new Git repository for our project. To do this, you will need to unzip the project code that you downloaded earlier. Once you have the code unzipped, you will need to navigate to that folder in the terminal. Once you are there, run the following command: git init
When you run the git init command, it creates a brand new Git repository that can be used to convert an existing unversioned project to a Git repository, or it can be used to initialize a new empty repository.
Now, when you first set up a Git repository, it will start tracking all of the files that are in that project directory by default. However, most of the time there may be files that we don’t want to track in version control. Some of these files include files that contain sensitive information like API keys, build artifacts, log files, etc.
For our project, the main thing we don’t want to track is our node_modules folder. One of the benefits of using npm is that it allows us to use our package.json to keep track of all the required libraries we need to run our project. Since these packages are referenced there, we don’t need to include them in our Git repository. To ignore this folder, we need to add a new file to our project called .gitignore.
The .gitignore file, is a special file that tells our Git repository to ignore any untracked files that match a specific pattern. Now, in your project folder create a new file called .gitignore and add the following code to it:
node_modules/
This tells Git to ignore our node_modules folder. One important thing to note is that if there are any tracked files that match the pattern you specify, they will still be tracked after adding the gitignore file. They will continue to be tracked until you remove them.
Updating our project for Heroku
Now that we have updated our project to use Git, we will start updating our project for Heroku. Next, we will need to add a Procfile to our project. The Procfile, is a file that goes at the root of our project and it is used to tell Heroku which command will start our application.
Now, in your project create a new file called Procfile and add the following code to it:
web: node server/index.js
This command will tell Heroku to start a web process by running the node server/index.js command to start our application. The web process is a special process type on Heroku since it will allow your application to receive HTTP traffic.
Next, we will need to update our package.json file to include the version of Node.js that we are running our application on. By defining the version in our package.json file, it also tells Heroku which version of Node to run. To find out which version of Node.js you are running, run the following command in your terminal: node -v. You should see a message that includes the version of Node you are currently running.
Now, open package.json and add the following code below the dependencies block:
"engines": {
  "node": "10.12"
}
You can update the 10.12 to match the version of Node you are running locally.
With that completed, the next thing we need to do is update the port that our Node server will be listening on. When we run our application on Heroku, we have to tell it to listen on a specific port otherwise our application will not work correctly. This port is specified in the PORT environment variable, so we can update our server code to look for this variable.
Now, open server/index.js and update this code block:
dom.window.gameLoaded = () => {
  server.listen(8082, function () {
    console.log(`Listening on ${server.address().port}`);
  });
};
to match this one:
dom.window.gameLoaded = () => {
  let port = process.env.PORT;
  if (port == null || port == "") {
    port = 8082;
  }
  server.listen(port, function () {
    console.log(`Listening on ${server.address().port}`);
  });
};
In the code above, we added some logic to create a new variable called port and we set this variable to the PORT environment variable. If the PORT environment variable is not set, or it is an empty value, then we set the port variable to be 8082.
With all of the required changes now complete, the last thing we need to do is add all of our files to our Git repository. To do this, run the following command: git add .. This command will tell Git to add all of our untracked files, and all tracked files that have changed. Next, we will need to create a commit, which is used to keep a record of these changes. You can do this by running git commit -m "updated project to support heroku". The -m flag, allows us to tie a message to the commit.
Testing our project locally
Now that we have committed our changes, we should test all of our changes locally before we push our application to Heroku. To do this, we will need to install the required dependencies for our project. You can do this by running npm install, which install of the dependencies that are listed in our package.json.
Once all of these packages are installed, you just need to run the following command to start our application: heroku local web
This should start our application on port 5000. If you open your web browser and navigate to http://localhost:5000/, you should see a screen similar to this:
If you open a few tabs and refresh them, you should see multiple ships appear in your game, and some should be different colors. If you refresh one of your tabs, your ship should change locations and the color of your ship may change.
Deploying to Heroku
Now that we have tested our application locally, we can move on to deploying our application to Heroku. To do this, go back to the terminal and stop the local server. Then, run the following command to log in to your Heroku account from the CLI: heroku login
This should prompt you for your Heroku account credentials. After you have entered them, you should get a new message about being logged into your account. Next, run the following command to create a new web app on your Heroku account: heroku create
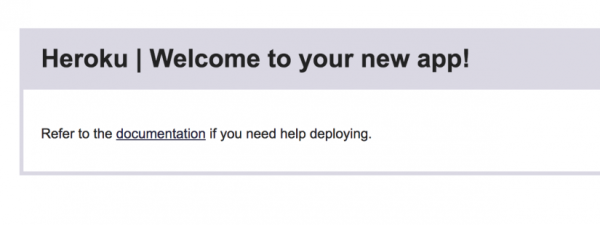
You should see a message about your app being created, and you should see URL that points to your new app. Also, the heroku create command will create a new git remote and it will link it to your local git repository. Now, if you visit the URL you should see the following:
If you revisit your Heroku dashboard, you should see your new app listed.
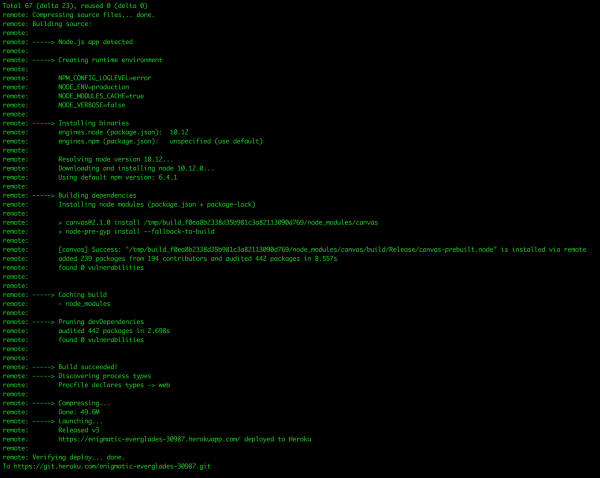
With your app created, we just need to deploy our code to the Heroku git remote to update our app. To do this, run the following command: git push heroku master. When you run this command, it may take a few minutes to run and when it is done, you should see a message about build being verified.
Now to view your app, you can run the following command: heroku open, when will open your Heroku app in your browser. When the browser opens, you should see your Phaser game.
Note, if you receive a message about your app not running, you may need to run the following command to make sure there is a least 1 instance of your app running: heroku ps:scale web=1
Viewing logs
With our Phaser game now deployed on Heroku, we will next look at how we can access the logs for our server. With the CLI, Heroku makes it really easy to view the logs for your app. By default, Heroku will provide a single channel that will contain all of your events.
To view your logs, run the following command: heroku logs --tail. This will open a stream that will display your logs in real time.
Connecting to GitHub
The last thing we will cover is setting up automatic deployments from GitHub. One of the benefits of doing this is that you can point your Heroku App to a particular branch on your GitHub repository, and any time a new commit is pushed to that branch, Heroku will grab your code and rebuild a new version of your App. Setting this is up is really easy, and the only thing you need is a GitHub account, which you can create here if you don’t already have one: GitHub Sign Up
After you have created or signed into your account, the next thing you will need to do is create a repository. You can do this by clicking on the + on the top toolbar, and then in the menu that appears, click on new repository.
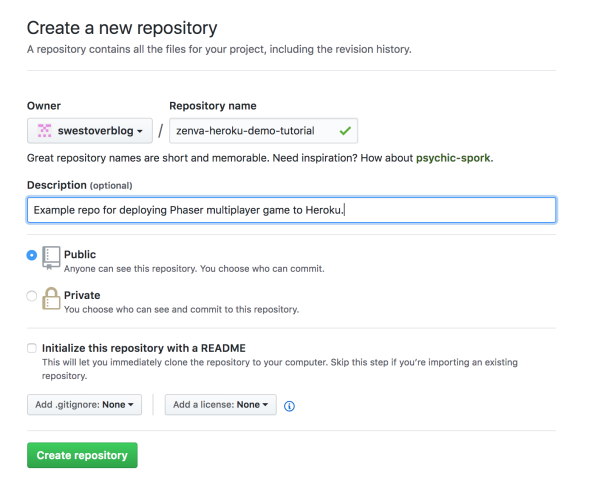
Then, on the new page that appears, enter a name for your repository and click on the create repository button.
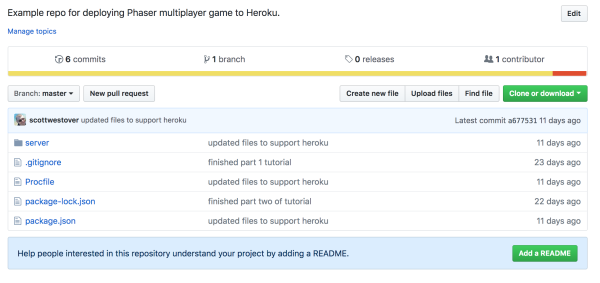
This will open a new page that will give you instructions on how to add code to your repository. Since we have already created a git repository locally, we will use the instructions provided under the …or push an existing repository from the command line section. After you run these commands in the terminal, if you refresh the GitHub page you should see your code in the repository.
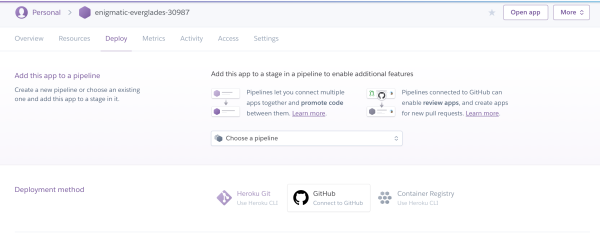
Now with the code successfully added to your GitHub repository, we just need to make some updates to your Heroku App through the Heroku dashboard. On the Heroku dashboard, click on your App and then click on the Deploy tab.
From there, click on the GitHub option under the deployment method section and then click on the Connect to GitHub button. You will need to allow Heroku to access your GitHub repositories, and once you do you should see a new option in the Connect to GitHub section.
Now, search for the name of your GitHub repository and then click on the connect button to link it to your Heroku App. Once you do this, you should see two new sections appear: Manual deploy and Automatic deploys.
To enable the automatic deploys, you just need to select your branch name from the drop down and then click on the Enable Automatic Deploys button. By default, your only branch will be called master.
Now to test this, you will need to push a new commit to your GitHub repository. You can do this by pushing an empty commit by running the following commands:
git commit --allow-empty -m "Trigger build"
git push origin master
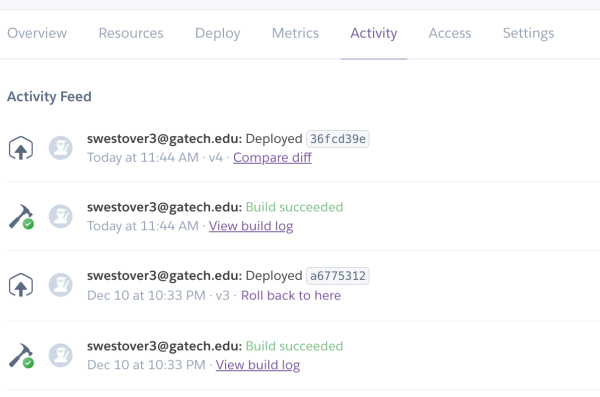
Then, if you click on the Activity tab in your Heroku dashboard, you should see some messages regarding a new build of your app and once it is completed you should see a deployed message.
Conclusion
With the automatic deployments set up for our game, that brings this tutorial to an end. I hope you enjoyed it and found it helpful. If you have any questions or suggestions on what we should cover next, please let us know in the comments below.


