You can access the full course here: Intro to RPG Development with Phaser
Table of contents
Part 1
Learning Goals
Obtaining the Chrome Web Server Browser Extension
Before we can jump in and start coding there are a few setup tasks that we need to complete. The first thing we need to do is have a local web server running on our machine. We will be using a Chrome browser extension to setup our web server. You are welcome to use another route as far as the webserver goes, but this course will only be covering the Chrome browser extension we use in this course. In order to get the Chrome extension you will need to visit this link here to obtain it: https://chrome.google.com/webstore/detail/web-server-for-chrome/ofhbbkphhbklhfoeikjpcbhemlocgigb?hl=en

This is a very simple browser extension that you just simply point it to a local folder where you want to host files and then it will spin up your server for you. Once you have the extension added to your Chrome browser you will see it in the Chrome apps menu:
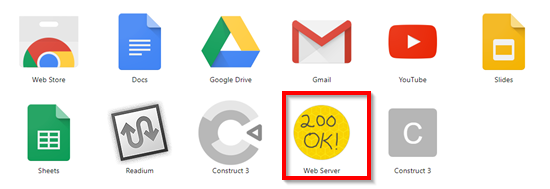
In order to use the extension you will just click on the icon, and a new window will open:
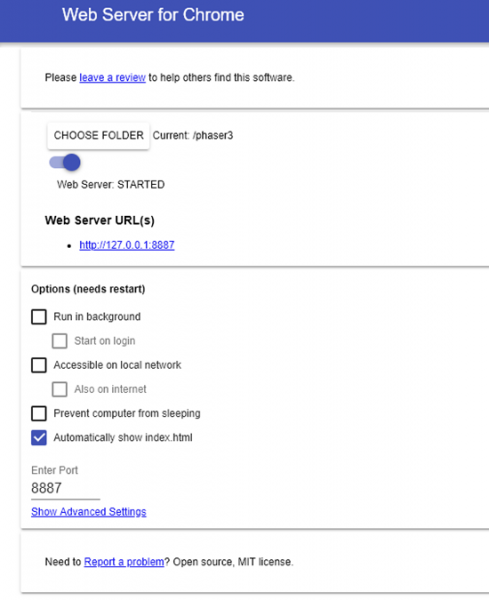
All you need to do now is click on “Choose Folder”:
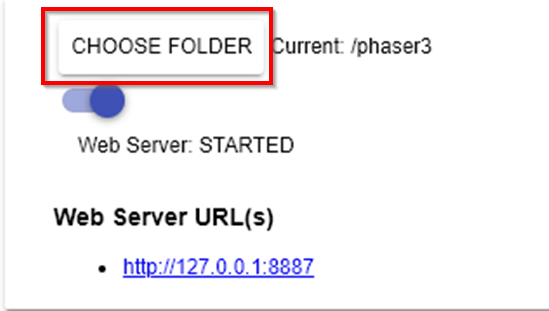
So once you select the folder, all the assets that are in that folder will be made available on the server. Then if you click the link provided:

You will see a list of all the current assets in that directory:
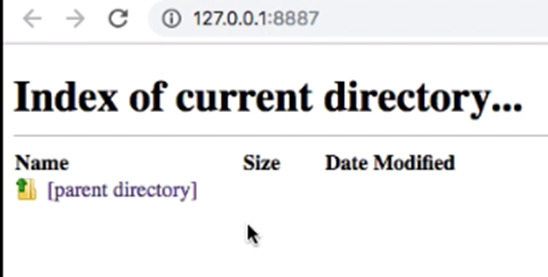
Currently the directory is empty so that is why it is showing the way it is. The second toll that you are going to need is an Editor. There are many free editors out there to download and use.
Obtaining the Code Editor
We will be using VS Code in this course. Again you are welcome to use any editor of your choice, but we will only be covering VS Code in the course. In order to download VS Code you can visit this link here: https://code.visualstudio.com/
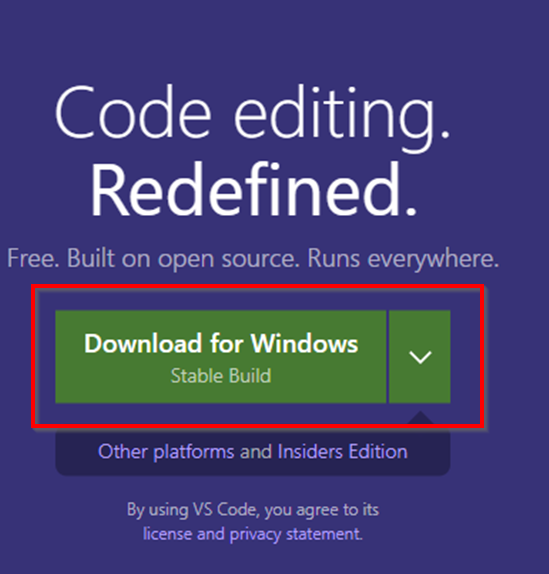
Once you have the installer downloaded all you need to do is run the installer and follow all the on-screen prompts for the installation.
Obtaining the Phaser Library
The final tool we need now is the actual Phaser 3 library. You can visit this link to obtain the Phaser library: https://phaser.io/download/stable

At the time of this course the latest version of Phaser is Phaser 3.16.2 “Ishikawa.” There are a few different ways to obtain the Phaser library from here:
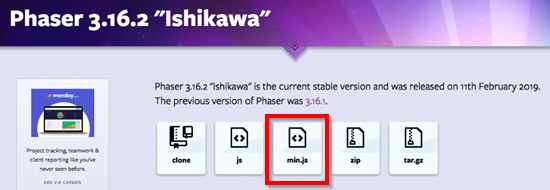
You can download the min.js file.
Summary
Part 2
Learning Goals
- Basic project setup.
- Creating a basic HTML page.
- Running the server.
In this lesson we will begin by setting up our project structure. You should begin this lesson by first downloading the course assets, and you can download these assets from the course home page (NOT AVAILABLE IN THE FREE WEBCLASS). Once you have downloaded and extracted the assets folder you should see two folders called “assets” and “images:
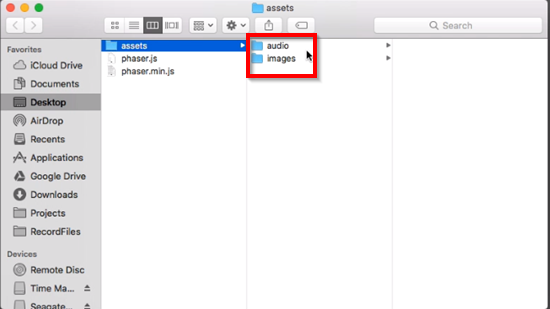
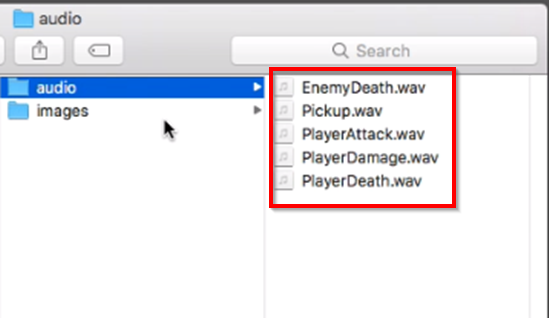
The audio folder has five different sound effects in it, we will use these in our game for the player attack, when the player takes damage, etc:
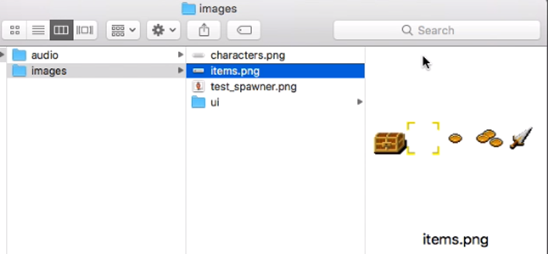
In the images folder there are a few sprite sheets, one of them is characters, the other one is items:
There is also a test spawner image, and a UI folder that contains two buttons for us to use in our game:

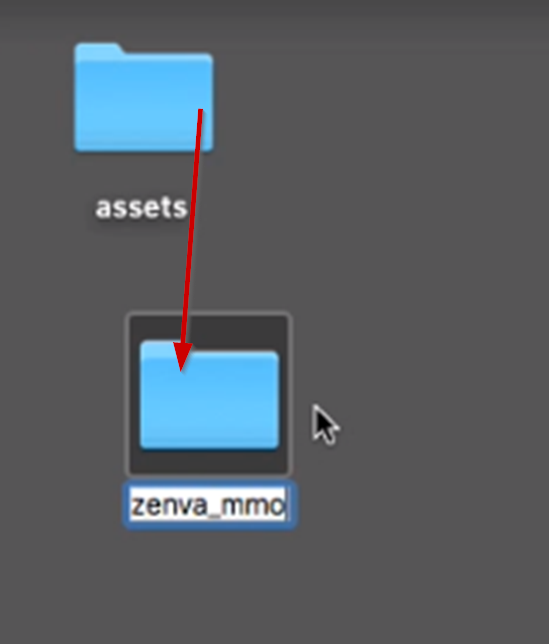
In order to start setting up our project structure we will need to create a new folder and call it “zenva_mmorpg” once you have this folder created you can place the assets folder inside this folder:
We now need to create a new folder inside the assets folder that is now in the zenva_mmorpg folder and call the folder “js”:

Create a new subfolder in the js folder called “lib”:
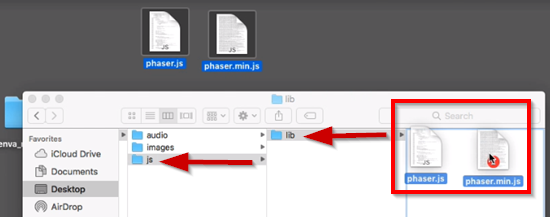
The lib folder will be used to keep track of any external libraries that we wanna use for our game. We will need Phaser inside of the lib folder. For the time being we are going to include both the Phaser and the Phaser minified file. One other folder that we need to make inside the assets folder is the “css” folder:
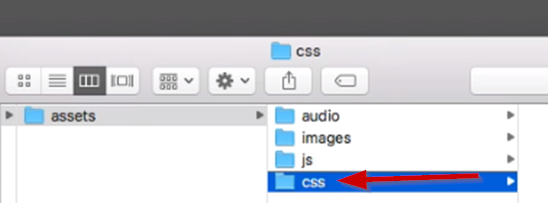
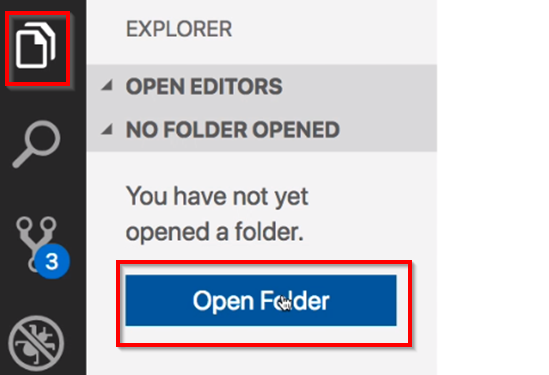
We will use this folder to keep track of any external CSS files. We now have the basic structure of our project in place and now we can open up the folder inside the code editor. One way to do this in VS Code is when you open VS code without any folders selected you can click on the File Icon in the upper left hand corner and then choose Open Folder:
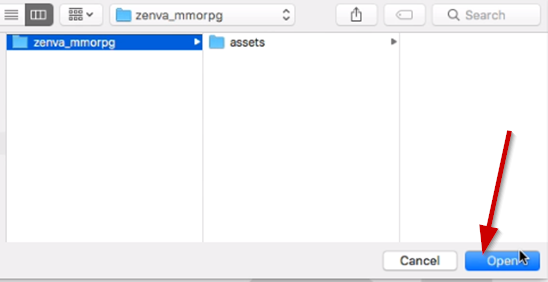
Once you choose Open Folder you will need to navigate to where you have the folder you just created in the previous steps:
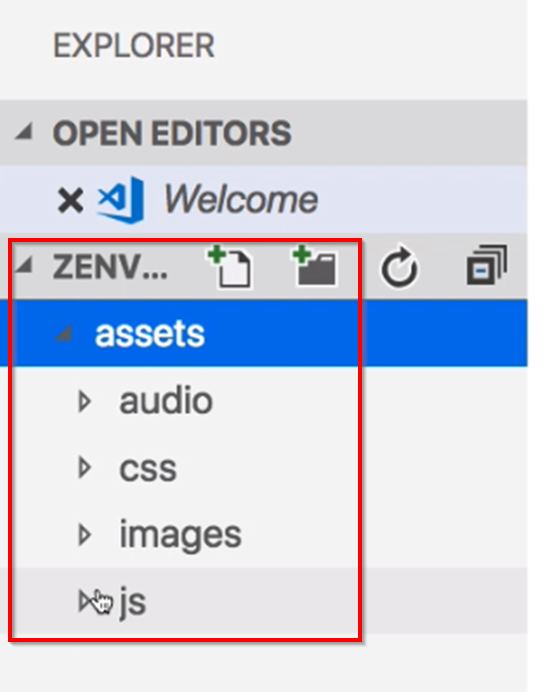
This will reload the code editor once you open the zenva_mmorpg folder in VS Code. You will see that we have our assets in here now, and they are listed on the left side of the editor:
Next we need to start up the Webserver for hosting our files, open the Chrome browser and click on Apps:
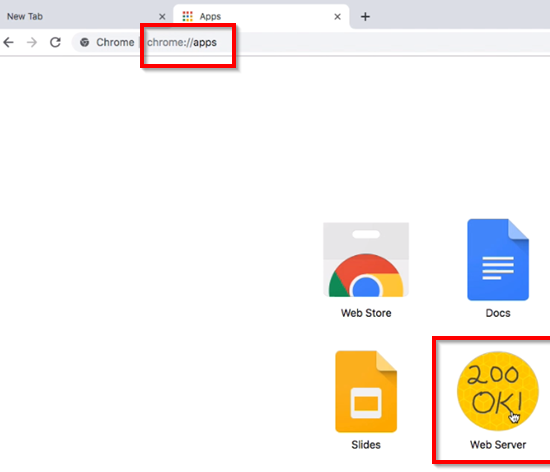
Once the Chrome webserver has been opened click on Choose Folder:
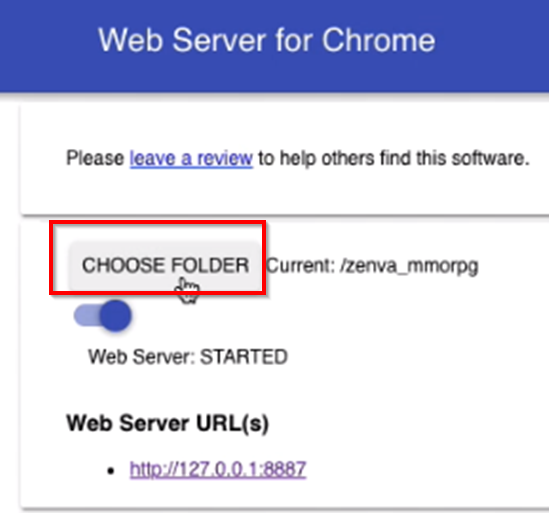
You will then choose the zenva_mmorpg folder you just created previously:
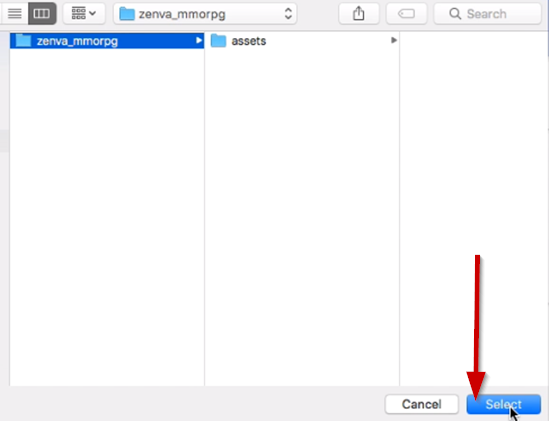
This will be the root of our project. So now when we click on the link, you will see that the localhost 8887 is now hosting our static files. You will see that we have the assets folder and images:
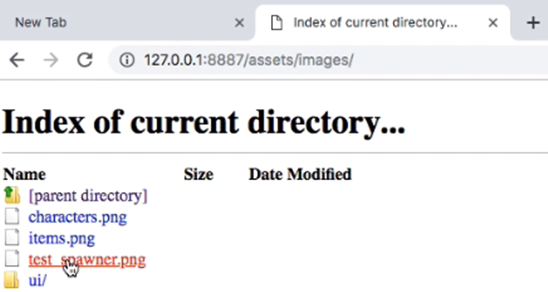
You can switch back to the code editor now, and next we need to create an HTML page. Because this is a JavaScript library, we will be including the JavaScript files in our HTML page. The HTML page will be what is rendered to the end user when they visit our site. Create a new file:

Name the file “index.html” We then need to create the basic structure of the HTML page, so open this file in the code editor. See the code below and follow along:
<!DOCTYPE html>
<html>
    <head>
        <meta charset="utf-8">
        <meta name="viewport" content="user-scalable=0, initial-scale=1, minium-scale=1, maximum-scale=1, width=device-width, minimal-ui=1">
        <title>Zenva MMORPG</title>
    </head>
    <body>
        <div id="phaser-game"></div>
        <script src="assets/js/lib/phaser.min.js" charset="utf-8"></script>
    </body>
</html>
Save this file. Switch back to the browser and refresh the page, you will see a few things and the first is that our asset list has went away. The reason for this is that when a server detects an index.html page, the server will render that page at the root path. You can see that our index page is being rendered, but we don’t have any content currently, but if you look at the title on the tab you can see that it has the tile name we specified:
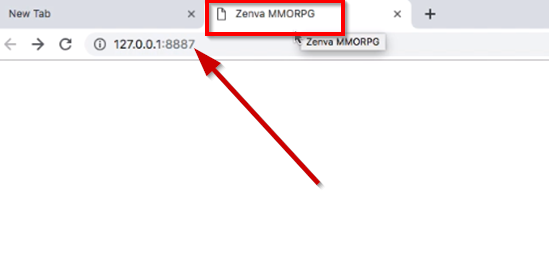
Right click on the webpage and choose inspect:
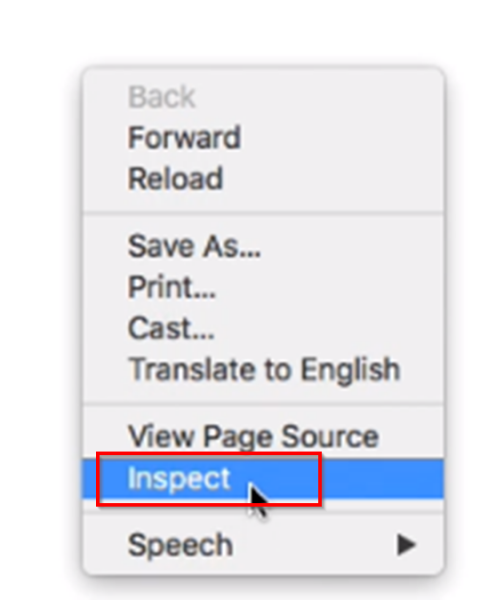
Click on the Console:

Summary
Phaser Library
- In order to create your game, you will need to include the Phaser library. The library is available via direct download, on a CDN, NPM, and on GitHub.
- When you are developing your game, it is important to keep an eye on the version of Phaser you are developing against. Some features may not be backwards compatible.
Transcript 1
For our course, we’ll be using the Phaser 3 framework for developing our game. If you’re not familiar, Phaser is a fast, free and fun open-source HTML5 game framework that offers WebGL and Canvas rendering across desktop and mobile web browsers. The framework itself is written in JavaScript, so games can be compiled to iOS or Android and native apps by using third-party tools, and you can also use JavaScript or TypeScript for your game development.
The only requirement for using Phaser is the web browser has to support the Canvas HTML tag, which most browsers currently support.
Some of the benefits of using the Phaser framework is there’s a lot of options right of the box. Phaser comes with a fantastic plugin system, offers device scaling, mobile browser support. It offers things like asset preloading. It has built-in physics. It also includes a plugin for Facebook instant games.
So before we start working on our game, I wanted to share a few additional resources with you that are very helpful. The first is the labs.phaser.io website. This has replaced the Phaser 2 examples that you’ll find on the Phaser site and is exclusive to Phaser 3. On this site, you’re gonna find over 700 different examples of how you can use Phaser, and how each of the individual components work.
So for example, if we wanna go ahead and take a look, we’ll go and take a look at Game Objects. We’ll go ahead and do Sprites, and you’ll just see we have all these different examples for rendering a single Sprite, if we wanted to move a Sprite across the scene, and many more.
The second resource I want to share with you is the Phaser 3 API documentation, which is hosted on GitHub. The documentation is still a work in progress, but there is a lot of great information here. So if you want to look up the different things that are available for a particular class, like for example, if we wanted to look up more information on a sprite, we can search for it, and then you’ll see it’ll break it down.
It gives you all of the available methods, the properties, what’s expected, and there’s just a lot of great information. And what’s nice is for each method, they’ll be a link to the original source code. So you can go ahead and take a look at it in GitHub.
So the next resource is the GitHub repo itself. Phaser is under active development, and there is a new releases quite often, so in the repo they’ll be links to all of the resources I listed before, plus a few additional ones. You’ll also find things like release notes, how you can get the current version of Phaser. You’ll also get things like the TypeScript definition and a few links to a few different project templates.
The last resource I wanna share with you is the Phaser 3 forums. So there is an active community that is currently using Phaser, and then there’s a lot of a support for it. So if you have any questions, you can always search the forum. There’s a good chance someone else may have had the same question or ranted the same issue, or even if you’d just like to share your current game, or anything that you’re currently working on, this is the place to share it.
Transcript 2
Before we can jump into the code, there are a few setup tasks we have to do in order to run our game. The first thing we have to do is, we need to have a local webserver running on our machine. The reason for this is that it has to do with browser security. So we can create an index HTML page, and we can view it in our browser by using the file local path to view that file. However, once it comes time to load in external assets using the file path, the browser will block this for security reasons. So in order to not be hindered by the browser security, we need to be able to host our assets over HTTP and that’s where our web server will come in.
So there are many options available to you. Some are OS specific, other ones can be tied to the browser you’re currently using. So on the Phaser 3 site you’ll see some examples like you can use WAMP or XAMPP, Mongoose. You can use MAMP if you’re on Mac OS. You can also use things like grunt, Python, http-server for node.js, you can do php built-in web server.
So, for this course, we will be going another route and we’ll be using a Chrome browser extension, and I’ll be showing how we can set that up to serve our web server. You are welcome to use another one – however, that is out of scope for this course.
So to get the Chrome extension, if you go ahead and do a search for web server for chrome, you should see it as the first result. So it is a very simple Chrome extension where you just point it to a local folder where you want to host files and then it will spin up your server for you. So to use it we just need to click the Add to Chrome button. Click Add App and then you’ll see on your chrome apps you’ll have a new app added.
So to use the Chrome extension, you just go ahead and click on the app, a new window will open. So you just need to click on Choose Folder to where you should serve your files from and then, what will happen, is any assets in that folder will start being – will be made available and if you click this link here. You’ll see a list of the current assets in that directory. So currently this directory is empty, so that’s why it’s showing this.
So the second tool you’re going to need is an Editor. So there are many Editors out there, each with their pros and cons, just to list a few of them: there is Sublime Text, Atom, VS Code, Brackets, WebStorm. You could use Notepad, Notepad++. So for this course I’m going to show you – so for this course I will be using VS Code, and you’re welcome to also use VS Code. However if you have a personal preference, you are welcome to use any code editor that you would like to use.
So to get VS Code, if you come down here, you click on this link, and you should be taken to the VS Code version for the OS you’re currently on. If you go ahead and click on the Download for Mac button, this will download the installer, then you just need to run the installer and follow the instructions.
Finally, the last tool we need is, we actually need the Phaser library itself. So to get the library, if you click the Download button up here on Phaser, you’ll be taken to this page and then if you click on this button over here, it’ll take you to the stable releases. So at the time of this recording, Phaser 3.16.2 is the latest version.
So there are few different ways to get the Phaser library. It’s available on npm, so you can install it from ther,e and it’s also hosted on the jsDelivr CDN, so you can include the script tag on your web page, if you would just like to use Phaser that way. You can also clone the Gallop Repository, if you’d like to go that route, you can download Phaser as a .zip and you can also get direct links to the JavaScript file and the Minifier JavaScript file.
So if you click the links those files will be downloaded for you in your browser. So if you like to take a look at the source code while developing, I definitely recommend getting the Phaser.js file, since it’s the unminified version and it’d be easier to read. For production-ready, I definitely do recommend that you use the Phaser.min file, since it’s already minified for you if you’ll be including Phaser that way in your project.
Transcript 3
To begin, we are gonna start setting up our project structure. In the course links below, you will see a link to our assets. So, if you go ahead and download the asset folder and you extract it, you will see two folders inside. One will be audio and one will be images. Our audio has a few sound effects that we’ll be using for our game throughout our courses. Some of these include, like, an item pickup, when the player attacks, when the player takes damage. In the images folder, you’ll see a few sprite sheets. One of ’em will be characters and the other will be items. So, this will be a few different assets we’ll be using throughout our game. You’ll also see a test spawner image. And you also have a UI folder that has a few UI buttons inside it.
So to start setting up our project structure, we’re gonna go ahead and create a new folder called zenva_mmorpg. We’re gonna go ahead and take our assets folder and place it inside this folder. So now in here, we’ll have assets. And let’s go ahead and make another folder and we’ll call it js. This will be used to keep track of all our JavaScript files that we’ll use in our game.
And let’s go ahead and make a new subfolder called lib. The lib folder will be used to keep track of any external libraries that we wanna use for our game. We’ll, of course, will have Phaser inside here. For the time being, we’ll include both the Phaser and the Phaser minified file. One other folder we wanna go ahead and make over in here is we’ll make a css folder. We’ll use this to keep track of all any external CSS files that we create while making our game.
So now that we have our basic structure for our project in place, let’s go ahead and open up the folder inside your code editor. One way to do this in VS Code is when you open up VS Code without any folders selected, you can go ahead and click on the File icon here and then choose Open Folder. We’ll go navigate to the folder we just created. This will go ahead and reload the code editor and you’ll see that we have our assets in here.
Next, we’re gonna go ahead and start up our web server for hosting our files. We’re gonna go ahead and come into Chrome, go click on Apps, click on Web Server. And we’re gonna go ahead and Choose Folder and we’re gonna go ahead and choose the folder we just created. And that will be the root of our project. So now, when we click on the link, you’ll see the localhost 8887 is now hosting our static files. In this, we have our assets folder, we’ll have our images. So you’ll see, that’s serving up that file through HTTP. So we’re gonna go ahead and go back. And then let’s switch back to our code editor.
So, the first thing we need to do is create an HTML page. So the HTML page, because this is a JavaScript library, we’ll be including the JavaScript files in our HTML page, and that HTML page will be what is rendered to the end-user when they visit our site. So we’re gonna go and come up and we’re gonna go and create a new file, and we’re gonna go ahead and call this index.html.
So then we just need to create the basic structure of an HTML page. So, we’ll do DOCTYPE html and then we’ll create our html tags. And let’s go ahead and create a head tag. And then a body tag. Okay, so the head tag for our HTML file is used to put any meta information for our webpage here. This includes things like any viewport meta tags we wanna have, if we want to have a title displayed on our webpage, and it’s also used to including external resources that we want to be loaded before our webpage starts to render.
And then our body tag is used to render the content of the page. This will be like any of the text, the images, anything we show on the site. For the purpose of our game, this is where we’re gonna have our canvas element. And it’s also where we can include any JavaScript files that we want to be loaded after our page has started loading.
So the first thing we’re gonna do in our head tag is we’re gonna create a new meta tag, which I’m gonna give it a character set of utf-8. And then we’re also going to create another meta tag, and this is going to be a viewport meta tag. And we’ll do content equals user-scalable=0 to initial-scale=1. We’ll do minimum-scale=1, maximum-scale=1, width=device-width, and minimal-ui=1. We’ll close our tag.
So, what this meta tag does is, by default, if it’s not provided, a mobile device will try to render that page at a typical desktop screen width and then it will try to scale that page to fit the mobile device. This can lead to a bad user experience, because trying to render that large page on that small device means the user has to zoom in to try to view the content. It’s not a very pleasant experience.
By including that tag, it allows us to set the width and height of our viewport. So you’ll see, what we did is we went to the device-width, which allows it to then treat that as the maximum width and our page will be rendered much more cleanly.
So next, we’ll go ahead and we’ll add a title property and we’re just gonna go and call this Zenva MMORPG. And then down in our body, let’s go ahead and create a div and we’re going to give this div an id of phaser-game. And then next, we’re going ahead and load in our external JS files. So we’re gonna do script src and we’ll do assets, JavaScript, lib, and we’ll do phaser.min, and we’ll give it a character set of utf-8. And we’ll have our closing script tag.
All right, so if we go ahead and save our changes and we switch back to our browser and we refresh the page, you’ll see a few different things. First is our asset list has went away. The reason for this is when the server detects an index.html page, the server will render that page at the root path. So if we would have named our HTML page something like main.html page or game.html, we would still see a list of our files here.
So you’ll see that our index page is being rendered but we don’t have any content currently, but if you look at the title in the tab here, you’ll see that it has the title we specified. Then we’ll go ahead and we’ll do Inspect, we’ll do Console. Let’s do that for now.
Interested in continuing? Check out the full Intro to RPG Development with Phaser course, which is part of our MMORPG Academy.
